First-Time Studio Rental Guide: Everything You Need to Know Before Your First Photoshoot
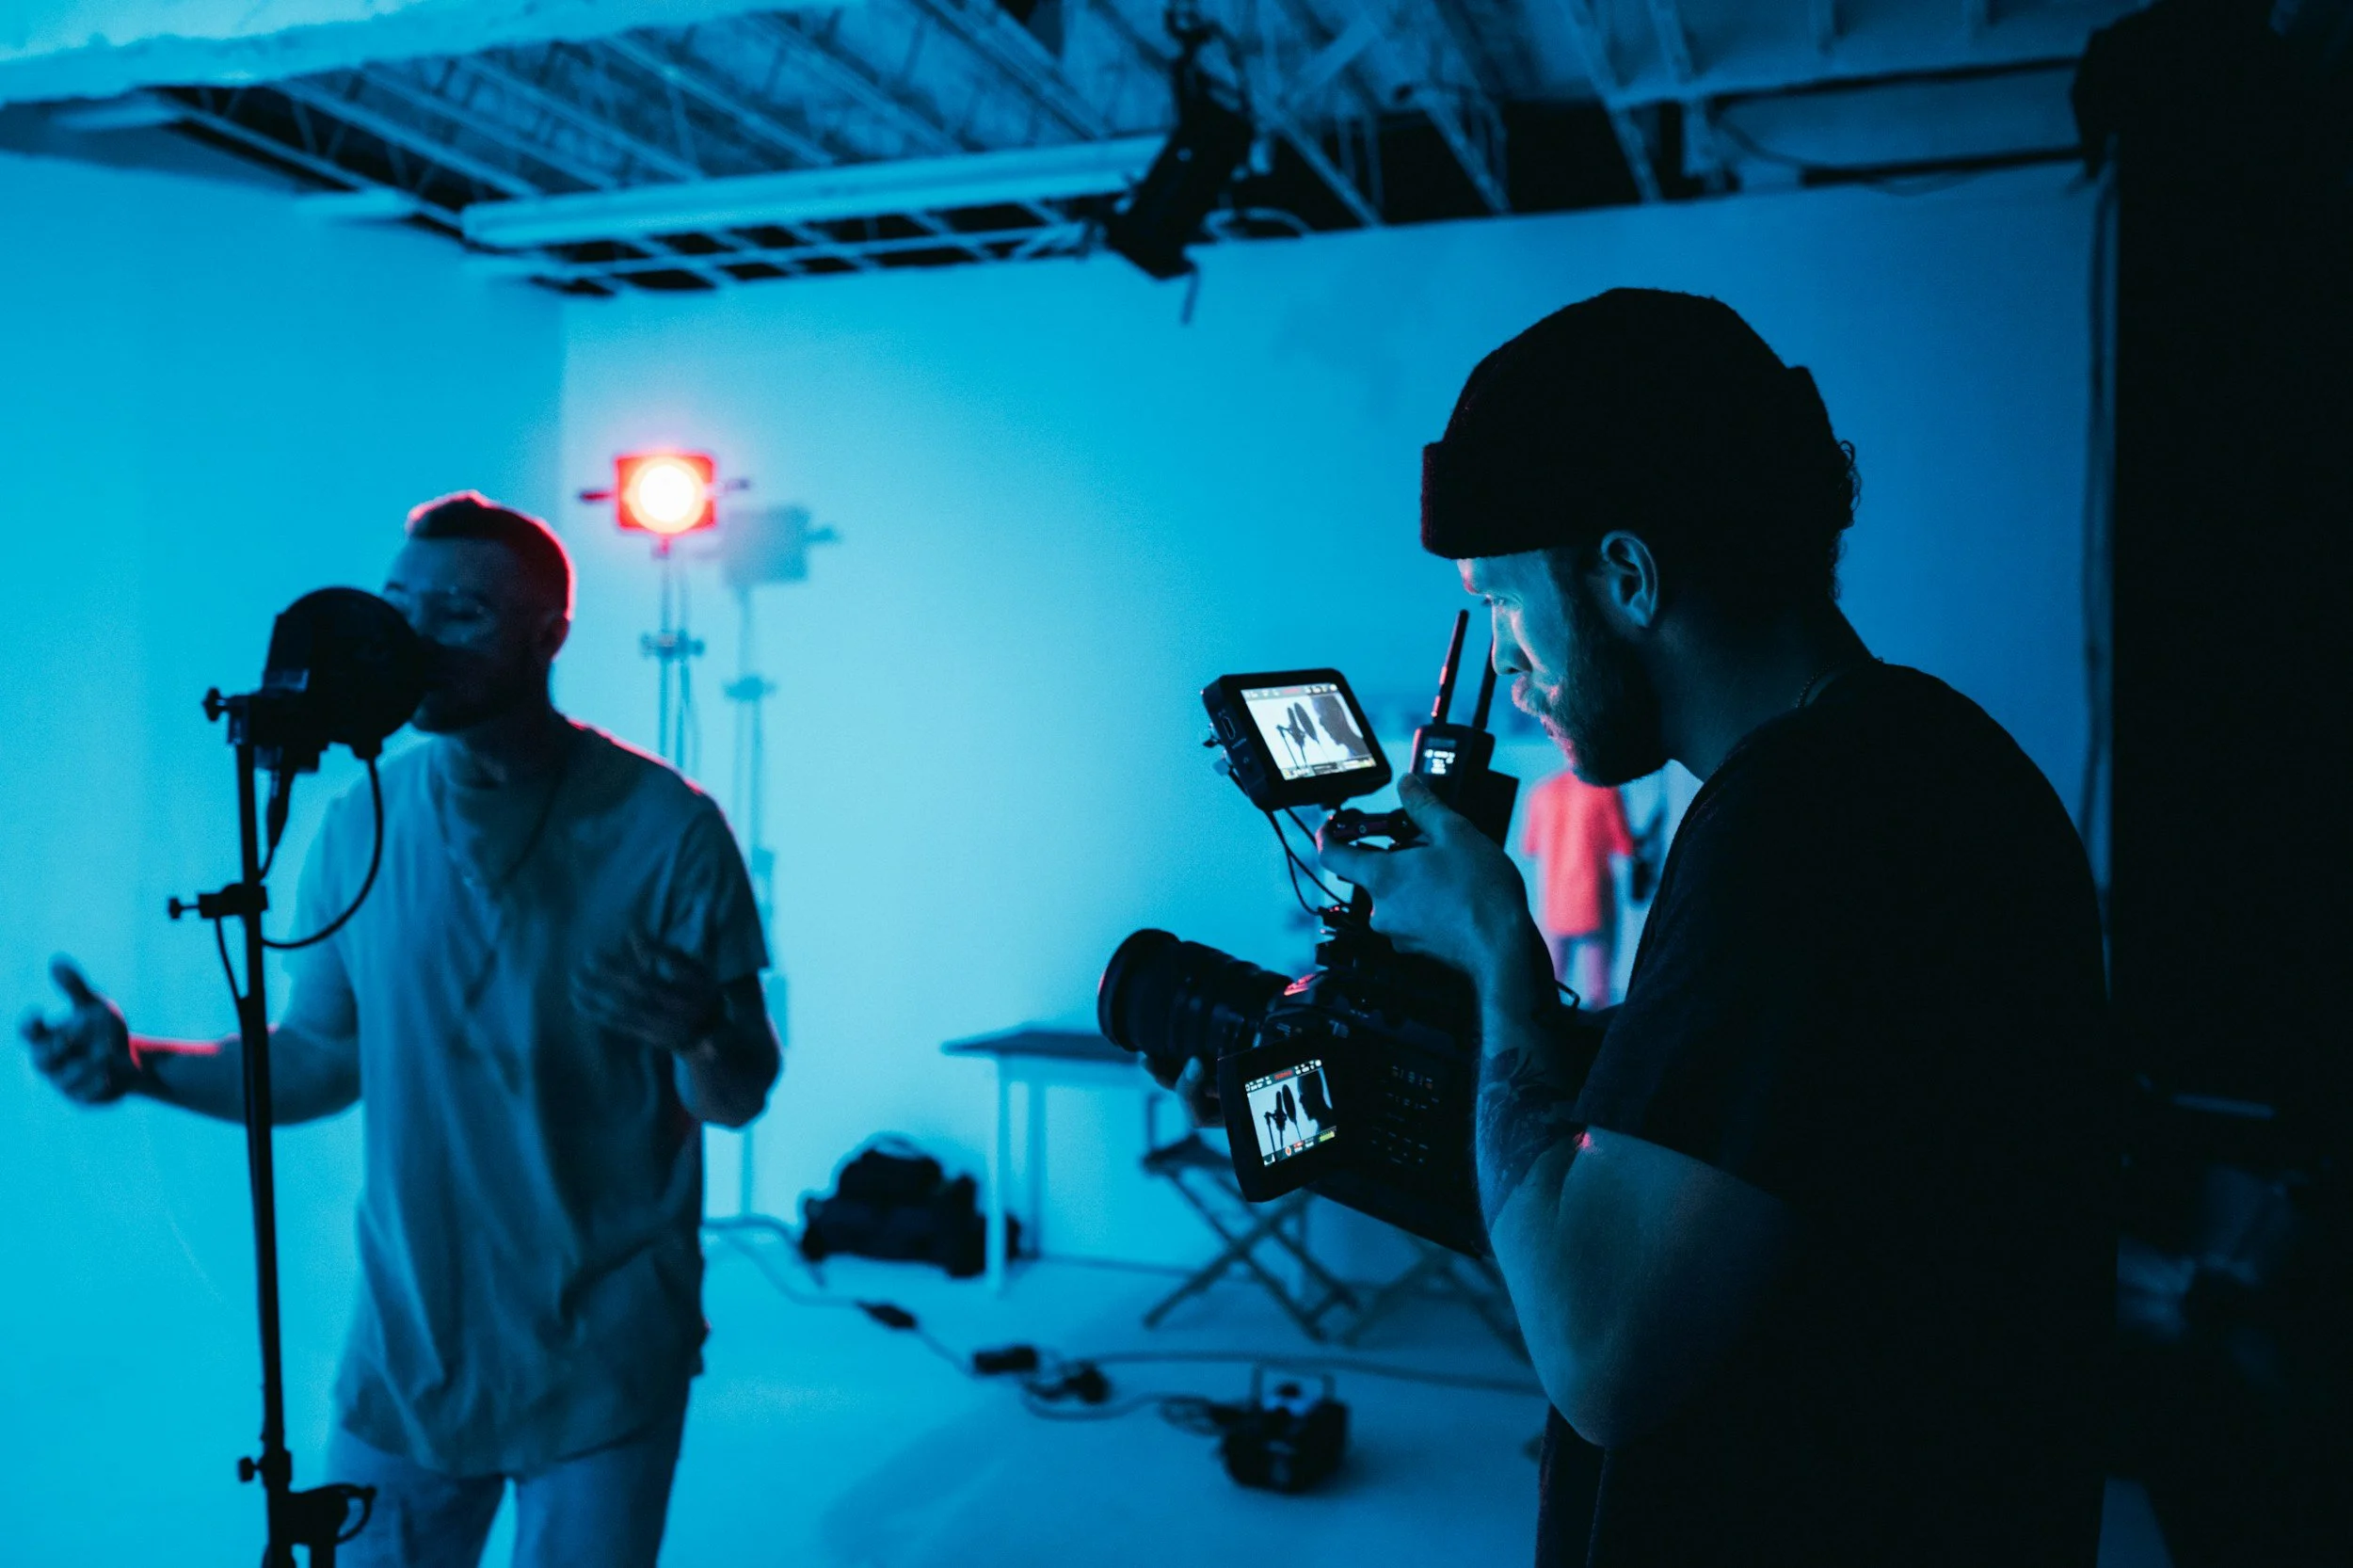
Renting a photography studio for the first time can feel intimidating.
What equipment do you need? What should you bring? How much time should you book? What happens when you arrive? Do you need professional experience?
The answer to that last question is simple:
No.
You don't have to be a professional photographer to rent a studio.
A professional studio can actually be one of the best places to learn, experiment, build your portfolio, and discover what you're capable of creating.
If you're considering your first Photography Studio Toronto rental, this guide will walk you through everything you need to know before booking your first session.
Why Rent a Photography Studio?
A photography studio gives you something you often can't get at home or outdoors:
Control.
You can control the lighting, background, environment, and setup without worrying about weather, distractions, or finding the perfect location.
A studio is useful for:
Portraits
Headshots
Product photography
Fashion
Beauty photography
Branding
Content creation
Portfolio development
Commercial photography
Personal projects
You don't need a massive production to benefit from a Toronto Studio Rental.
Even a simple portrait session can be transformed by having the right space.
Step 1: Decide What You Want to Photograph
Before you book anything, figure out what you're trying to create.
Are you photographing a person?
A product?
A model?
A family?
Yourself?
A new business?
Your portfolio?
Your answer will determine the type of setup you'll need.
For example, a portrait shoot may require a simple lighting setup, while a fashion shoot could require room for wardrobe, makeup, multiple lights, and several people.
Having a clear idea of your project will make the rest of the planning much easier.
Step 2: Choose the Right Studio
Not every studio is the same.
When searching for a Photo Studio for Rent Toronto, consider:
Size
Natural light
Lighting equipment
Grip equipment
Backgrounds
Makeup facilities
Changing areas
Accessibility
Parking and loading
Client amenities
Booking flexibility
You don't necessarily need the biggest studio.
You need a studio that matches your project.
The Production Studio offers more than 1,000 square feet of shooting space, providing room for photographers, models, equipment, and creative teams.
Step 3: Understand What's Included
One of the biggest mistakes first-time renters make is assuming every studio provides the same equipment.
Before you book, find out what's included.
At The Production Studio, photographers have access to useful production equipment including:
C-stands
Boom arms
Sandbags
Apple boxes
Extension cables
Commercial cart
Rolling racks
Tether table
Large screen television
Having access to basic grip equipment means you don't have to bring every piece of equipment you own.
That can make your first studio experience considerably easier.
Step 4: Bring Your Camera and Essential Gear
While the studio can provide important production equipment, you'll still want to bring the gear you're comfortable using.
For most photographers, that means:
Camera
Bring your primary camera and, if possible, a backup.
Lenses
Choose lenses based on your shoot.
For portraits, an 85mm lens is a popular option. For wider environmental images, a 35mm or 50mm may be useful.
Memory Cards
Bring formatted cards with enough capacity for your entire shoot.
Batteries
Fully charge your batteries before arriving.
If you have spares, bring them.
Laptop
If you plan to tether or review images during the session, bring your computer.
Step 5: Don't Overpack
It's tempting to bring everything.
Five lenses.
Three cameras.
Every light modifier you own.
Six bags of equipment.
And somehow a tripod you haven't used in two years.
Don't.
Start with the equipment you actually need.
A simple setup is often better than a complicated one, especially during your first studio rental.
Once you understand the space and your workflow, you can start experimenting with more advanced setups.
Step 6: Plan Your Lighting
If you've never worked in a studio before, lighting can seem complicated.
It doesn't have to be.
Start with one light.
Learn how it affects your subject.
Then add another if you need it.
A simple setup might include:
One key light + reflector
From there, you can experiment with:
Key light + fill light
or:
Key light + rim light + background light
Studio photography is essentially a process of learning how light behaves.
Your first rental doesn't need to produce a magazine cover.
It needs to help you learn.
Step 7: Take Advantage of Natural Light
Don't assume studio photography means artificial lighting.
Natural light can be incredibly beautiful.
The Production Studio offers natural-light options that can be used for:
Portraits
Lifestyle photography
Branding
Fashion
Editorial photography
Content creation
Try photographing the same subject using natural light and then compare it with a controlled artificial-light setup.
You'll quickly begin to understand how different lighting changes the mood of an image.
Step 8: If You're Photographing People, Plan for Makeup and Wardrobe
If you're working with a model or client, think beyond the camera.
Will they need to change clothes?
Will there be multiple looks?
Will a makeup artist be involved?
Do you need a place for wardrobe?
A professional studio should make these things easier.
The Production Studio provides a dedicated makeup and changing area, allowing models and clients to prepare comfortably without taking over the shooting area.
Step 9: Give Yourself Enough Time
One of the biggest mistakes first-time studio renters make is booking too little time.
Remember that your rental includes more than taking photographs.
You need time to:
Arrive
Bring in equipment
Set up
Test lighting
Photograph
Change setups
Pack everything away
Leave the studio
If you think your shoot will take two hours, consider whether you actually need three.
Rushing through a studio session can make the experience stressful and limit your creativity.
Step 10: Create a Simple Shot List
You don't need a complicated production plan.
A basic shot list can make a huge difference.
For example:
Portrait Session
Headshot
Three-quarter portrait
Full-length portrait
Profile
Seated portrait
Creative lighting portrait
Product Session
Front
Side
Detail
Lifestyle
Close-up
Alternate background
Having a list ensures you don't finish your rental and realize you forgot the one photograph you needed.
Step 11: Bring References
If you're trying to achieve a particular style, bring visual references.
These might include:
Lighting examples
Posing references
Colour palettes
Fashion references
Background ideas
Editorial photographs
References can help you communicate your vision to models, makeup artists, stylists, and assistants.
They can also help you stay focused during the shoot.
Step 12: Use the Studio as a Learning Environment
Your first studio rental shouldn't be about perfection.
It's an opportunity to experiment.
Try moving the light.
Move your subject.
Change the camera angle.
Use a reflector.
Turn off one light.
Try hard light.
Try soft light.
Photograph the same subject in several different ways.
You'll learn more from doing this than you will from simply watching another photography tutorial.
Step 13: Don't Be Afraid to Ask Questions
If you're new to studio photography, don't pretend you know everything.
Ask questions.
A good studio environment should make photographers feel comfortable.
The Production Studio was created to support photographers and creative professionals, making it a welcoming environment for both experienced photographers and those who are developing their skills.
And if you make a mistake?
That's part of learning.
Every experienced photographer has had a shoot where something went wrong.
Step 14: Take Advantage of the Space
When you book a studio, don't spend the entire session standing in one place.
Move.
Experiment with different angles.
Use the available space.
Try wide compositions.
Move closer.
Change the background.
Create different lighting setups.
A professional Creative Studio Toronto can give you far more creative possibilities than a typical home setup.
Use them.
Step 15: Leave Time to Review Your Images
If possible, review some images during the shoot.
A large screen or tethered computer can make it easier to spot problems that aren't obvious on your camera's small display.
Look for:
Focus
Exposure
Lighting
Expressions
Wardrobe issues
Distracting backgrounds
Unwanted shadows
Reflections
Fixing a problem during the shoot is always easier than trying to fix it later.
What Should You Bring to Your First Studio Rental?
Here's a simple first-time checklist:
Photography Equipment
☐ Camera
☐ Lenses
☐ Memory cards
☐ Batteries
☐ Battery charger
☐ Laptop, if tethering
Creative Materials
☐ Mood board
☐ Shot list
☐ Wardrobe
☐ Props
☐ Products
☐ Styling materials
Production
☐ Personal lighting, if required
☐ Special modifiers
☐ Gaffer tape
☐ Extension cords, if needed
☐ Water and snacks
And remember to check what your chosen studio already provides before packing.
Why The Production Studio Is Great for First-Time Renters
Your first studio rental should be exciting—not overwhelming.
The Production Studio provides a professional but flexible environment where photographers can experiment, create, and learn.
With more than 1,000 square feet of shooting space, natural light, professional grip equipment, a makeup and changing area, kitchen facilities, private washroom, and convenient bay elevator access, the studio is equipped to support a wide range of productions.
Whether you're photographing your first model, building a portfolio, creating content for your business, or simply trying studio photography for the first time, the space gives you the freedom to learn by doing.
You Don't Need to Be a Professional to Rent a Studio
This is perhaps the most important thing to remember.
You don't need years of experience.
You don't need a huge client list.
You don't need thousands of dollars of equipment.
And you don't need to know everything about studio lighting.
You simply need an idea and the willingness to create.
A Photography Studio Toronto rental can be the place where you take your first serious portrait.
It can be where you create the first images for your portfolio.
It can be where you discover a completely new style.
And it might even be where you realize that studio photography is something you want to pursue professionally.
Your First Studio Shoot Starts Here
Renting a photography studio for the first time doesn't have to be complicated.
Know what you want to photograph.
Choose a space that fits your needs.
Understand what's included.
Bring the equipment you actually need.
Plan your shoot.
Give yourself enough time.
And most importantly, experiment.
The Production Studio provides photographers with the space and resources to do exactly that.
Whether you're looking for a Photography Studio Toronto, a flexible Toronto Studio Rental, a professional Photo Studio for Rent Toronto, or a versatile Creative Studio Toronto, your first studio experience can be the beginning of something much bigger.
You don't have to know everything before you walk through the door.
You just have to be ready to create.
Explore The Production Studio and plan your first studio session at www.productionstudio.ca.
